
Restoration Guides
How to Polish an Epoxy River Table or Resin Art to a Glass-Clear Finish
Every resin maker hits the same moment: you sand the pour flat and the beautiful clear resin turns milky white. Don’t panic. It is just fine scratches, and they come out with the right sequence of abrasives.
Why sanded resin looks cloudy
Sanding leaves the surface covered in tiny scratches, which scatter light. Each finer grade replaces those scratches with smaller ones. Once they are smaller than the eye can see, the resin looks clear again.
What you need
- Fully cured resin. Check your resin’s cure time, which can be several days for deep pours.
- Abrasives in a full range of grades. Micro-Mesh sheets on a block or Micro-Mesh discs on a random orbital sander for large surfaces, and soft pads for edges and small pieces
- A spray bottle of water
- A liquid polish such as Micro-Gloss
Step by step
- Flatten the surface with your normal sanding grits until it is level and evenly frosted.
- Go wet. From here on, keep the surface wet. It keeps the abrasive cutting and stops resin dust.
- Work through every grade, covering the whole surface evenly each time. Rinse and wipe between grades so no coarse grit is left.
- Check in raking light. Before moving on, look along the surface with a torch. Any scratches left now will show in the final finish.
- Polish. Finish with liquid polish on a soft pad or cloth until the surface is fully clear.
Small pieces
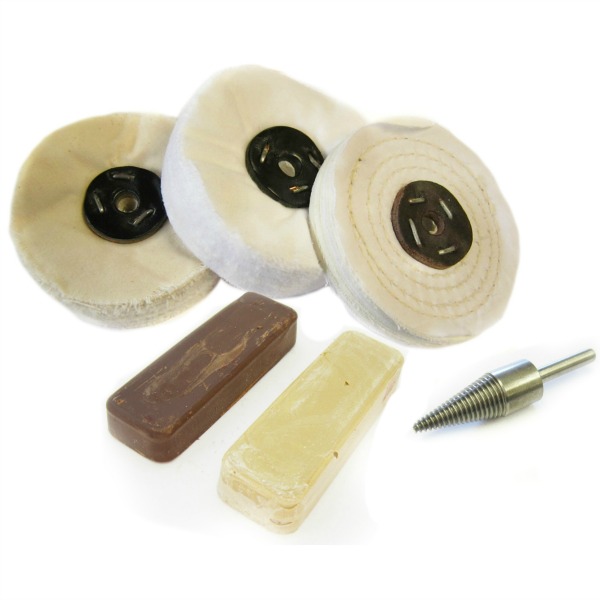
For coasters, jewellery and castings, a drill or rotary tool kit such as our plastic and resin polishing kit speeds up the final polish. Keep the speed low and the tool moving so the resin doesn’t heat up.
More in our resin and epoxy polishing guide.
Questions
Why does my resin go sticky when I sand it?
It isn’t fully cured. Wait longer before sanding.
Do I need a clear coat after polishing?
Not if you have polished through all the grades. Some makers add a flood coat or finish on large tables for extra depth and protection.
Can I polish resin by hand?
Yes. It is slower on big tables, but perfect for small pieces.
Get your resin glass-clear.