
Restoration Guides
How to Polish Acrylic (Perspex) Edges to a Clear Finish
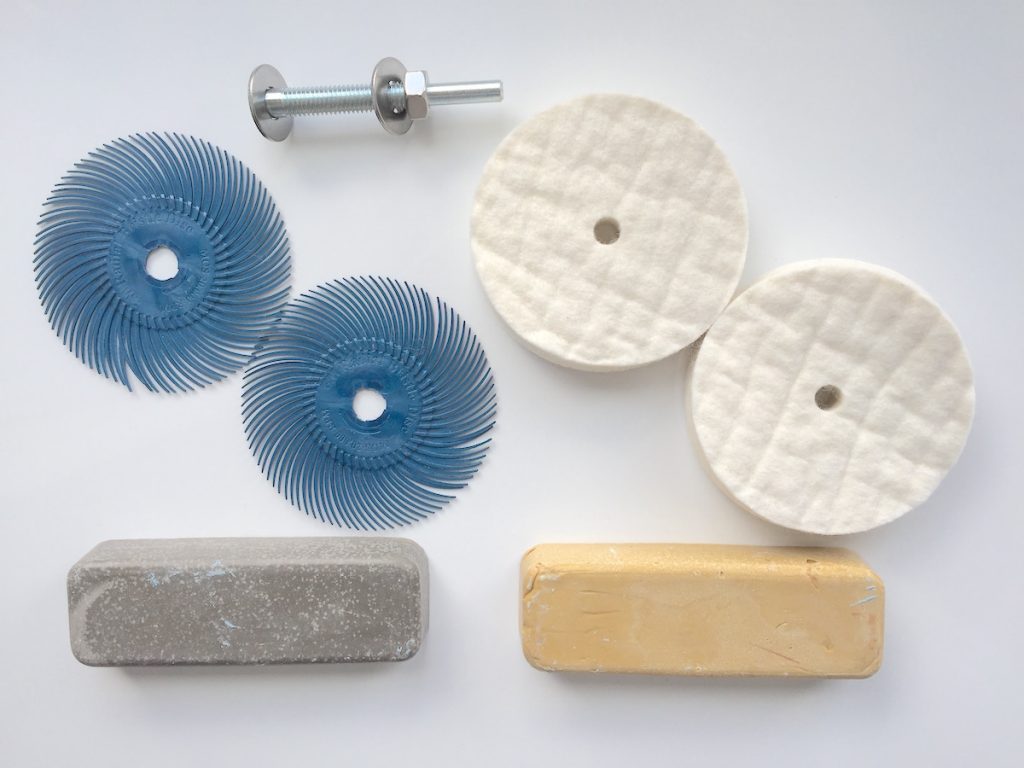
Cut a sheet of acrylic and the edge comes out rough and frosted. For signs, display cases, awards and craft projects, you want that edge clear and glossy. Here is how to get it there with hand abrasives and a drill.
What you need
- A cabinet scraper or the back of a craft knife blade
- Micro-Mesh sheets wrapped around a flat block, or Flexifiles for small pieces
- A plastic scratch removal kit or plastic and resin polishing kit for the final polish
- A vice with soft jaws
Step by step
- Clamp the sheet with the edge facing up, protecting the faces with card.
- Scrape the edge to remove saw marks, drawing the scraper along the length at a slight angle.
- Sand flat. Work through the grades with the abrasive on a block, so the edge stays square and doesn’t get rounded.
- Polish with a felt wheel and polishing compound on your drill, keeping it moving and using light pressure.
- Watch the heat. Acrylic softens quickly. If it starts to smear, lower the speed and keep moving.
Laser-cut edges
Laser-cut acrylic edges often come out already glossy. They only need a light polish if they are marked.
More in our plastic and acrylic scratch removal guide.
Questions
Why is my acrylic edge still cloudy?
There are still scratches from an earlier grade. Go back a grade and work through again.
Can I use a flame to polish acrylic edges?
Flame polishing is used by some fabricators, but it takes practice and can cause stress cracking. Mechanical polishing is more forgiving.
How do I keep the edge square?
Wrap your abrasive around a flat block, and support the sheet so it doesn’t rock.
Clear, glossy edges for your acrylic projects.