
Restoration Guides
How to Sand and Polish 3D Prints (Resin and FDM)
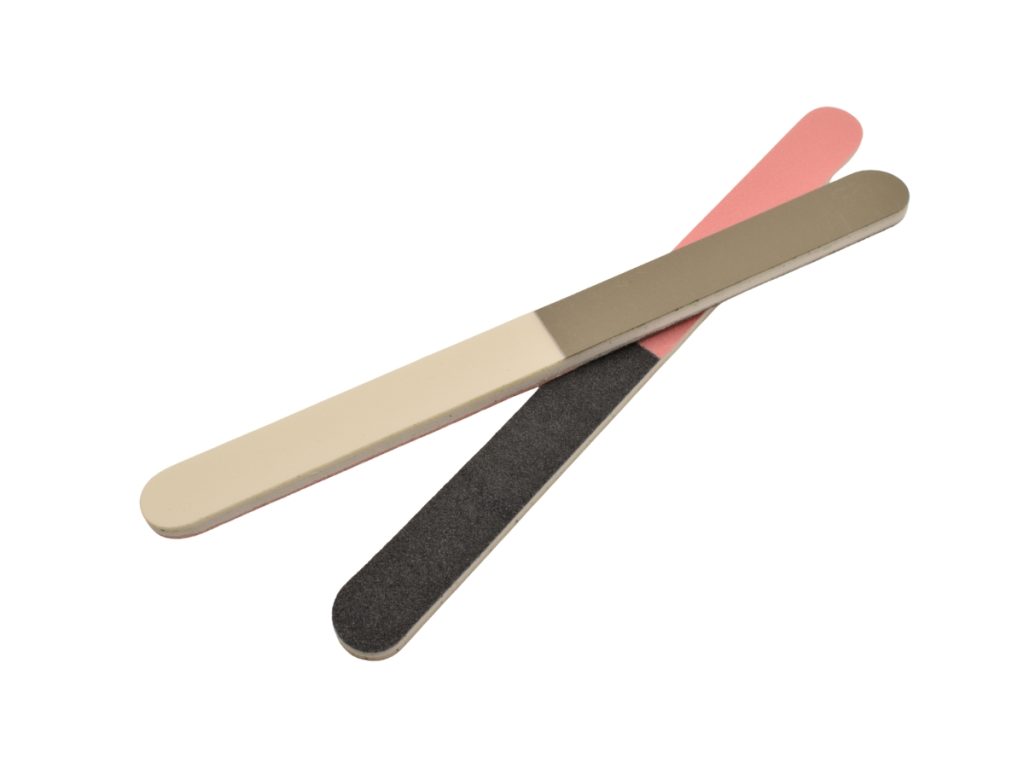
A 3D print straight off the bed rarely looks finished. FDM prints have visible layer lines and resin prints have little nubs where the supports were. A bit of sanding and polishing turns a print into something that looks moulded.
What you need
- Micro-Mesh Flexifiles for flat faces, edges and grooves
- Micro-Mesh soft pads for curved surfaces
- A coarser abrasive to start on heavy layer lines
- A bowl of water
- Micro-Gloss liquid polish for clear resin
- A dust mask and gloves, especially for resin
Step by step
- Remove supports cleanly. Snip them close, then file the nubs flush.
- Knock down layer lines with a coarse grade. Work evenly so you don’t create flat spots on curves.
- Go wet. From here, dip your abrasive in water often. It keeps dust down, which matters with resin, and stops the abrasive clogging.
- Work through the grades in order. Flexifiles reach into details and cushioned pads follow curves without flattening them.
- Decide your finish. For painting, stop at a middle grade so primer has something to grip. For a gloss finish, carry on to the finest grade.
- Polish clear resin with a liquid polish for the best clarity.
PLA and heat
PLA softens at fairly low temperatures, so power sanding can make it gummy. Sand by hand or at very low speed, and let the part cool if it gets warm.
Safety with resin
Only sand fully cured resin prints. Uncured resin is an irritant, and resin dust shouldn’t be breathed in. Wet sanding and a mask make a big difference.
More in our 3D print finishing guide.
Questions
What grit should I start with on 3D prints?
It depends on the layer height. Heavy layer lines need a coarse start. Fine prints can start much finer.
Should I sand resin prints wet or dry?
Wet. It keeps resin dust down and gives a better finish.
Can I make clear resin prints fully transparent?
Sanding and polishing improves clarity a lot. For glass-like results, many makers also add a clear coat.
Tools that reach the details sandpaper can’t.